Understanding Control Bar Basics
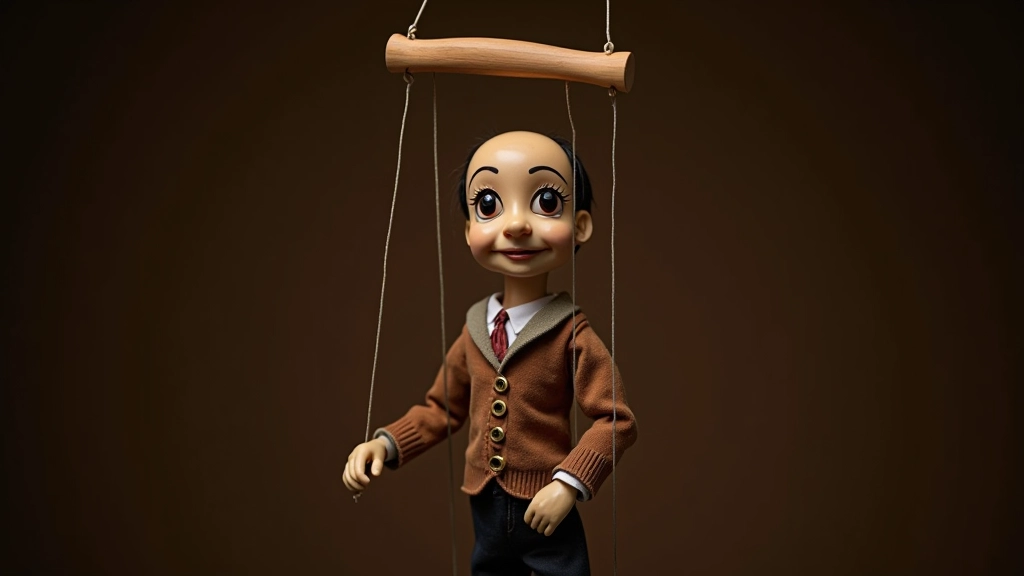
The control bar — sometimes called a control handle or cross — is your direct connection to your puppet. It's where all the magic happens. A well-built control bar means the difference between a puppet that feels alive and responsive versus one that's sluggish and unpredictable. You're essentially creating a tool that lets you control multiple strings with precision and grace.
Most control bars follow a cross or T-shaped design. The horizontal bar controls the head movements, while the vertical extensions handle the hands. But that's just the starting point. The weight distribution, the length of each arm, the grip design — these details matter tremendously. Get them right, and you'll feel like the puppet is an extension of your own body.
This guide is educational and intended to help you understand traditional marionette control bar construction techniques. Individual results vary based on puppet size, string configuration, and personal performance style. Consider consulting experienced puppet makers in your area for hands-on guidance.
Materials and Tools You'll Need
Start with quality wood. Hardwoods like beech or ash work best — they're strong enough to handle repeated use without warping. You'll need a piece roughly 30-40 centimeters long and about 3-4 centimeters wide. The thickness should be around 2 centimeters, though some puppeteers prefer slightly thinner bars for better control sensitivity.
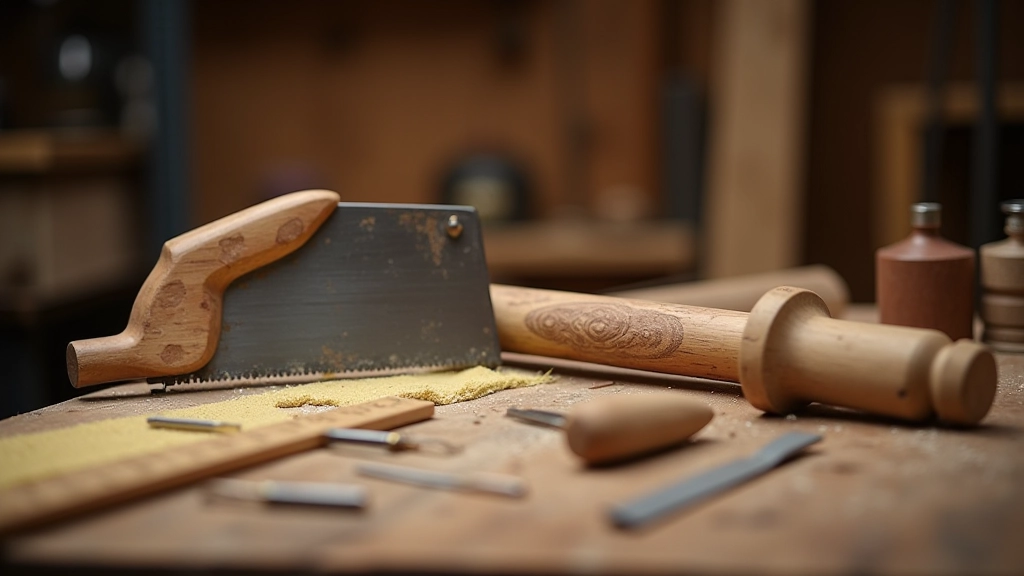
For tools, you don't need anything exotic. A good handsaw, a drill with various bit sizes, sandpaper (start with 80-grit, finish with 220), and some sharp chisels will handle most of the work. You'll also want a ruler, a pencil for marking, and ideally a clamp to hold your work steady. If you're planning to add grip handles, you'll need a router or rasp to round the edges.
Designing Your Bar's Dimensions
Here's where things get personal. Your bar dimensions depend on your puppet's size and your own comfort. A standard adult-sized puppet typically needs a main bar (horizontal) that's 25-35 centimeters long. The vertical extensions should extend down about 15-20 centimeters from the center. Some puppeteers make them equal length; others adjust based on whether they favor one hand over the other.
Weight matters. You want it light enough that your arms don't tire during a performance, but substantial enough to provide feedback when manipulating the strings. Most professional bars weigh between 300-500 grams. If it feels too heavy during practice, you're working too hard. The bar should feel almost like part of your hand.
Constructing the Basic Frame
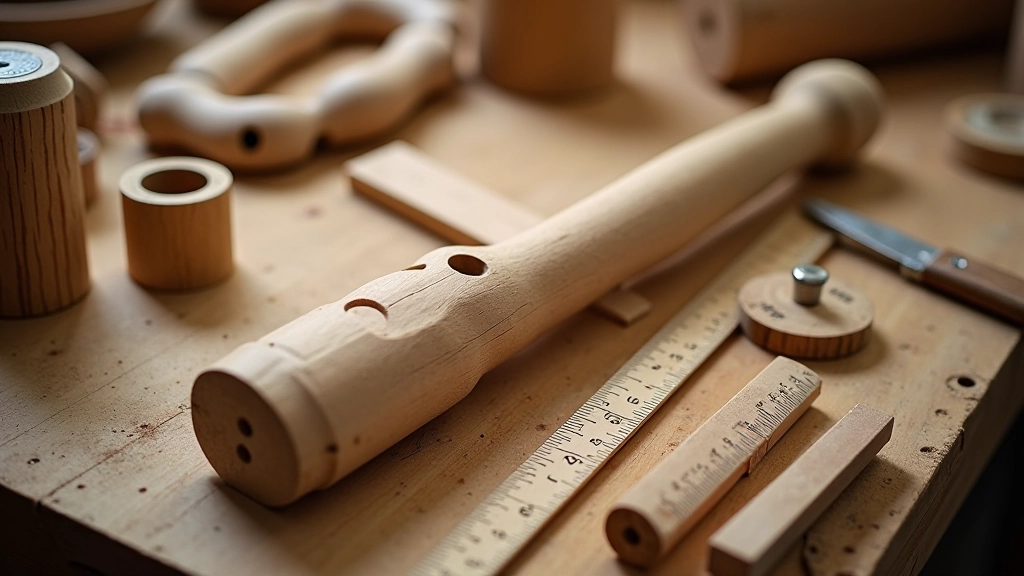
Start by marking your center point. That's where you'll create the main pivot — the balance point of your bar. From there, measure out along the horizontal axis and mark where you want the head strings to attach. Most puppeteers use a small eye hook or drill small holes (about 3-4mm diameter) for attaching strings. Don't make these holes too large or the strings will slip.
Cut your wood carefully. A handsaw works fine, but take your time. Rough cuts need to be sanded smooth — splinters will catch on your strings and your hands during performance. Use progressively finer sandpaper, finishing with 220-grit for a professional feel. Round over the edges slightly with a rasp or router to prevent string damage and make the bar more comfortable to grip.
For the vertical extensions, you've got options. Some puppeteers create a simple cross by attaching perpendicular pieces with strong wood glue and dowels. Others carve the extensions from a single piece of wood. The single-piece approach is stronger, but requires more skill with tools. If you're starting out, the two-piece method is perfectly fine — just make sure the joints are rock-solid.
Adding String Attachment Points
This is critical. You'll typically need 4-6 attachment points: two for the head strings (left and right), two for the hand strings, and sometimes additional points for special effects like leg strings or a waist string. Position these carefully. The head strings should be near the horizontal bar's ends, roughly 2-3 centimeters from each edge.
The hand string attachment points go on the vertical extensions. Position them about 8-10 centimeters down from where the extensions meet the horizontal bar. This gives you good leverage for manipulating the hands. Test this by holding your bar at arm's length and miming puppet movements — does it feel natural? Can you reach all the control points without contorting your wrists?
Grip Design and Comfort
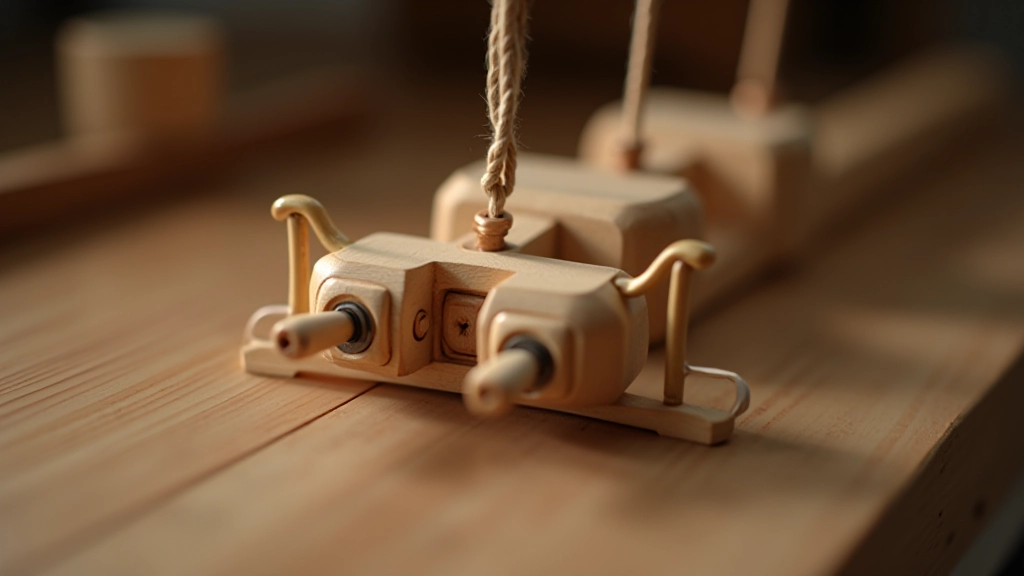
You'll be holding this bar for extended periods. A poorly designed grip means hand cramps, blisters, and reduced control precision. Most puppeteers create a rounded grip section on the main horizontal bar, roughly in the middle where they'll hold it. This is where a router really shines — you can create a gentle curve that fits your hand perfectly.
If you don't have a router, a rasp and sandpaper work just fine. Aim for a rounded profile, not sharp angles. Some puppeteers wrap the grip area with cork tape or leather for better traction and comfort. This is a practical addition, especially if you perform frequently or work with damp hands under stage lighting.
Balance is everything. Hold your bar horizontally at its center point. It should feel neutral, not tipping toward either end. If it feels heavier on one side, you may need to add weight to the lighter end or adjust your string attachment points. Perfect balance means less muscle fatigue and more control over subtle movements.
Testing and Fine-Tuning
Before you attach your puppet, test the bar alone. Hold it at different heights. Rotate it in both directions. Does it move smoothly? Are there any creaks or loose points? A quality control bar should feel solid — no wiggling at the joints. If you find any weak spots, reinforce them with additional glue, dowels, or small corner brackets.
Once you're satisfied with the bar itself, attach your puppet and do some serious testing. Work through all the basic movements: head turns, hand raises, walking motions. Does the bar respond immediately to your inputs? Does it feel balanced and intuitive? This is where you discover what adjustments are needed. You might find that moving an attachment point just 1-2 centimeters makes a huge difference in how the puppet feels to manipulate.

Finishing Touches and Maintenance
A coat of finish protects your bar and makes it look professional. Linseed oil is a classic choice — it brings out the wood grain beautifully and provides water resistance. Some puppeteers prefer a matte finish to reduce glare under stage lighting. Whatever you choose, apply thin coats and let it cure properly before using the bar in performance.
Maintenance is straightforward. Check your attachment points regularly — string friction can wear at eye hooks over time. Inspect joints for any signs of separation or movement. If you notice creaking, a bit of additional glue worked into the joint usually fixes it. Store your bar in a dry place, away from extreme temperature changes that could cause wood movement.
You'll probably want to build more than one bar. Different puppets may need different dimensions or weight distributions. Some puppeteers have a collection of bars for different performance styles — lighter ones for subtle character work, heavier ones for energetic comedic puppets. Each bar develops its own personality through use, and you'll find yourself reaching for specific bars for specific performances.