Understanding Joint Mechanics
Before you string a single thread, you'll need to understand how joints work. A marionette's joints aren't like real anatomy — they're engineered for control. The key is creating points that move freely but stay stable under tension.
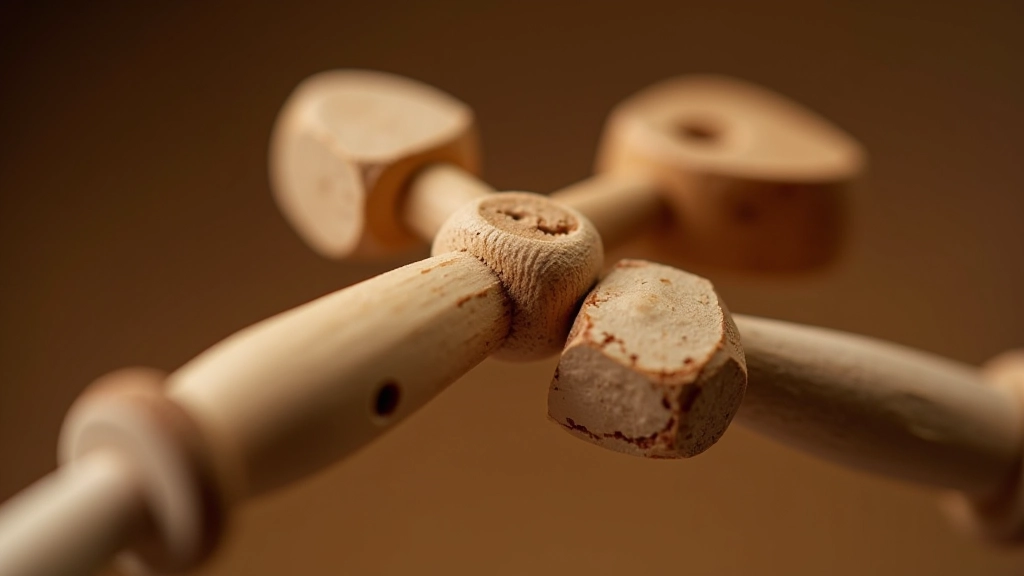
We're talking about shoulders, elbows, wrists, hips, knees, and ankles. Each one needs to pivot in a specific direction. You don't want a shoulder that swings backward or a knee that bends sideways. That's where the actual carving matters — the way you've cut the joint surfaces determines how it'll move later.
Most joints use a simple pin system. You'll drill a hole through two pieces of wood and insert a dowel or wire as the pivot point. The fit matters — too tight and the joint won't move, too loose and it'll be sloppy. We typically use dowels that are about 3-4mm in diameter for hand joints, going up to 6-8mm for weight-bearing joints like hips and knees.
Preparing Your Joints
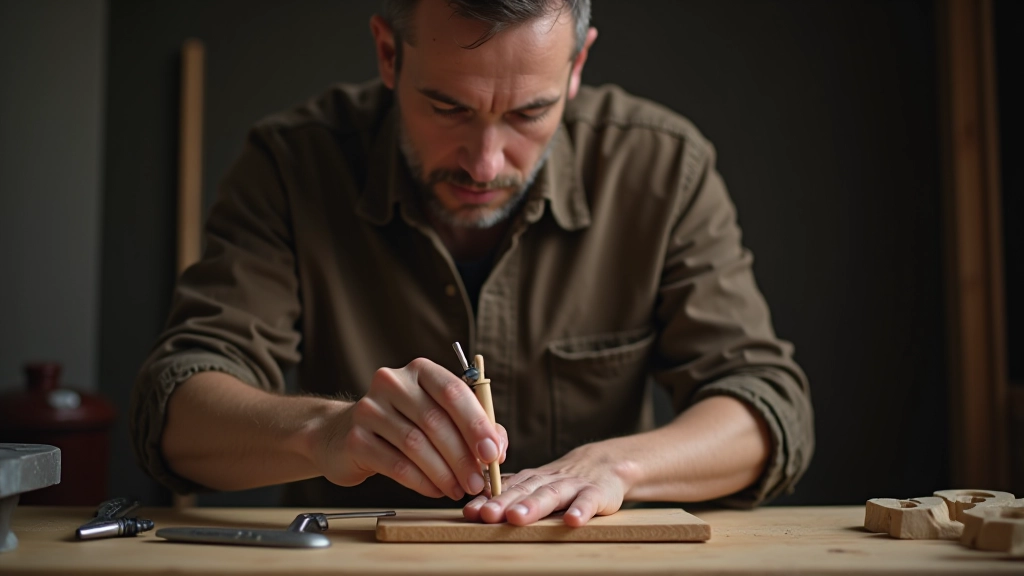
You'll start with your carved pieces — the body, limbs, and head are all separate at this point. Before you assemble anything, check your drill holes. They need to be clean and aligned. If you've got rough edges around the holes, sand them gently with fine-grit sandpaper. You're not trying to enlarge them, just smooth the entry points.
Test fit your dowels. They should slide through with minimal force — you're not hammering them in. If a dowel is too tight, don't force it. Use a slightly smaller diameter or carefully enlarge the hole. A joint that's under pressure won't move freely once it's strung.
Consider using leather washers between joints. These are small circles of soft leather that sit on either side of the joint. They reduce friction and give you finer control. You can make them from scraps — just cut circles and punch a hole through the center for your dowel pin.
Working at Your Own Pace
This guide is designed to help you understand the fundamentals of joint assembly and stringing. Every marionette is different, and your experience will depend on your specific puppet's design, materials, and how you've constructed the joints. Take time with each step. Rushing through joint assembly is the most common reason for control problems later.
Choosing Your Stringing Material
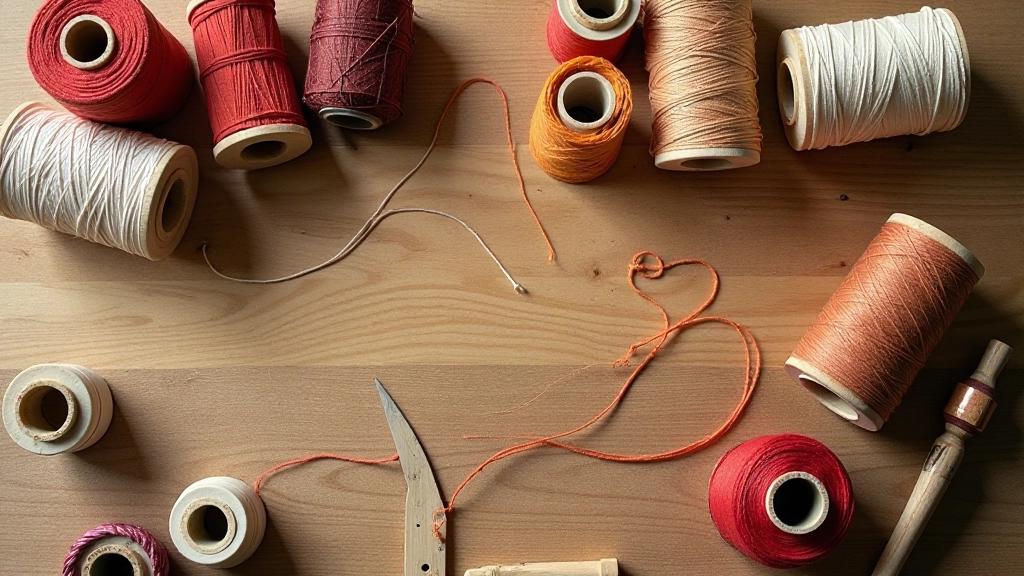
String isn't just string. You've got options here, and the choice affects how your puppet feels and responds. Traditional Czech puppeteers often use strong linen thread or waxed cotton. Modern makers might use nylon fishing line, but that's got its own challenges — it's slippery, stretches slightly, and doesn't grip knots as well.
We recommend starting with quality cotton string, about 1-2mm in diameter. It's strong enough for most puppets, grips knots reliably, and won't stretch. The thickness matters — too thin and you'll lose control sensitivity, too thick and it'll be visible on stage. You'll typically need between 15 and 25 strings depending on your puppet's complexity.
Test your material first. Tie it around a small weight and hang it. Does it hold without stretching? Can you tie knots that stay tied? If the string is slipping through knots, it's not the right material for your puppet.
The Stringing Sequence
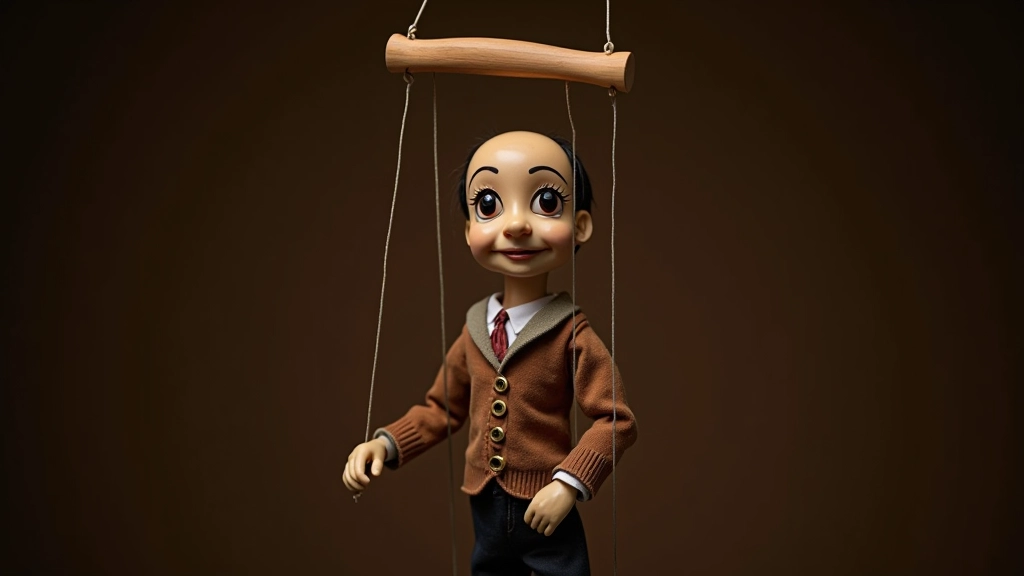
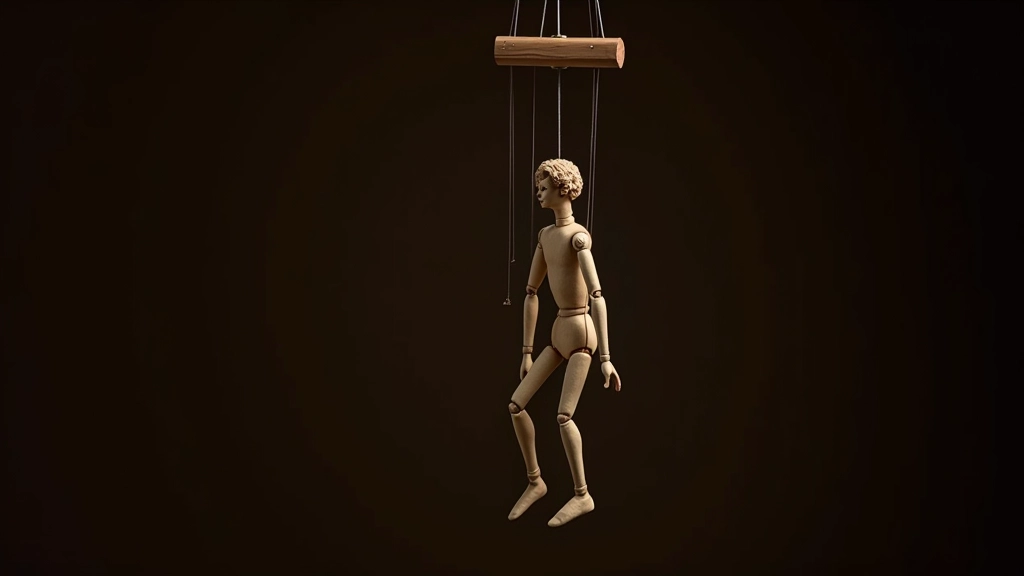
You'll start with the head. Don't attach just one string — most puppeteers use two head strings, one from each side of the skull. This gives you balance and prevents the head from tilting awkwardly. Drill your holes about an inch above where the neck connects, angling slightly toward the back of the skull.
Next comes the hands. That's four strings minimum — one for each hand from the palm area. Don't attach them at the wrist; go for the palm or back of the hand. This gives you more nuanced control over gestures. The angle matters here. Your hand strings should run slightly forward and down to your control bar, creating a natural line of tension.
The back string is critical. Attach this to the center of the puppet's back, about halfway between the shoulders and hips. This prevents the puppet from swinging forward when you lift it. You might add a second back string for larger puppets. The back strings should be slightly shorter than the hand and head strings, creating a gentle backward lean when the puppet hangs at rest.
Balancing and Fine-Tuning
Once your puppet is strung, it won't be perfect immediately. You'll spend time adjusting. Hang it from your control bar and observe how it sits. Is the head tilted? Adjust one head string to be slightly longer. Is the back sagging? Shorten the back string. These adjustments are measured in millimeters sometimes, but they make the difference between a puppet that feels alive and one that feels stiff.
Walk the puppet. Actually move it around, make it gesture, have it sit. You'll feel immediately where the problems are. Does the hand movement feel natural? Are you fighting against the strings or working with them? A well-strung puppet should feel responsive — you're thinking about what you want it to do, and it's doing it without you fighting the mechanics.
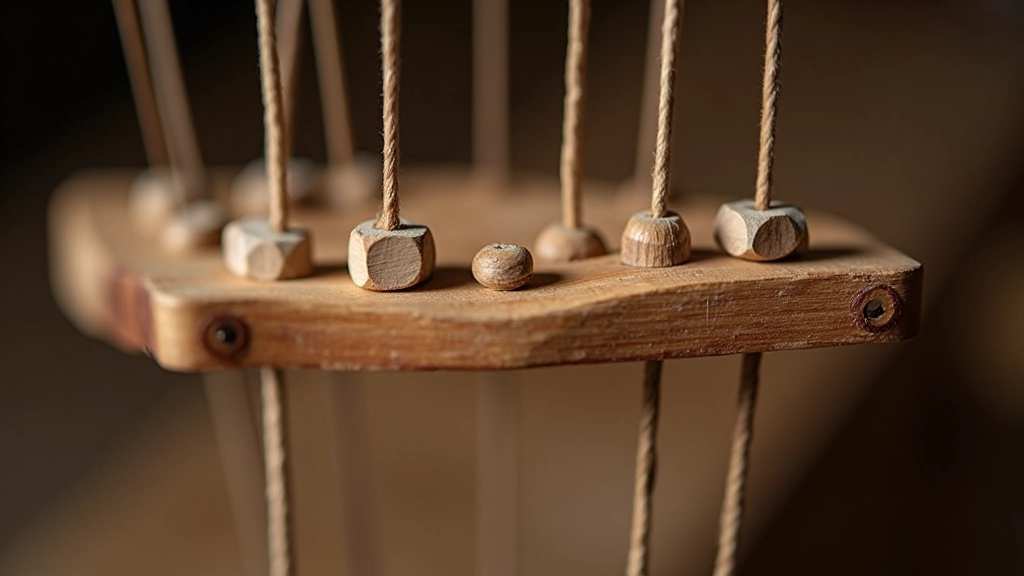
Don't over-string. We've seen puppeteers add strings for every possible joint, thinking more control is better. It's not. More strings mean more complexity, more places for things to tangle, and more tension to manage. A good puppet can do remarkable things with eight to twelve strings. Start minimal and add only what you actually need.
Building Your Puppet's Movement Vocabulary
Stringing and joint assembly aren't separate from puppet-making — they're the bridge between carved wood and living character. You've built the body. You've carved the joints. Now you're giving your puppet the ability to express itself.
The process takes patience. Your first puppet might take hours to balance. You'll adjust strings dozens of times. But that's the craft. Each adjustment teaches you something about movement, about how tension and weight interact, about what makes a gesture feel genuine. By the time you've finished your first marionette, you'll understand not just how to string a puppet, but why each choice matters.
Start with solid joints and quality materials. Move carefully through the stringing process. Test everything before you commit. And don't be afraid to make adjustments — your puppet will tell you what it needs.