
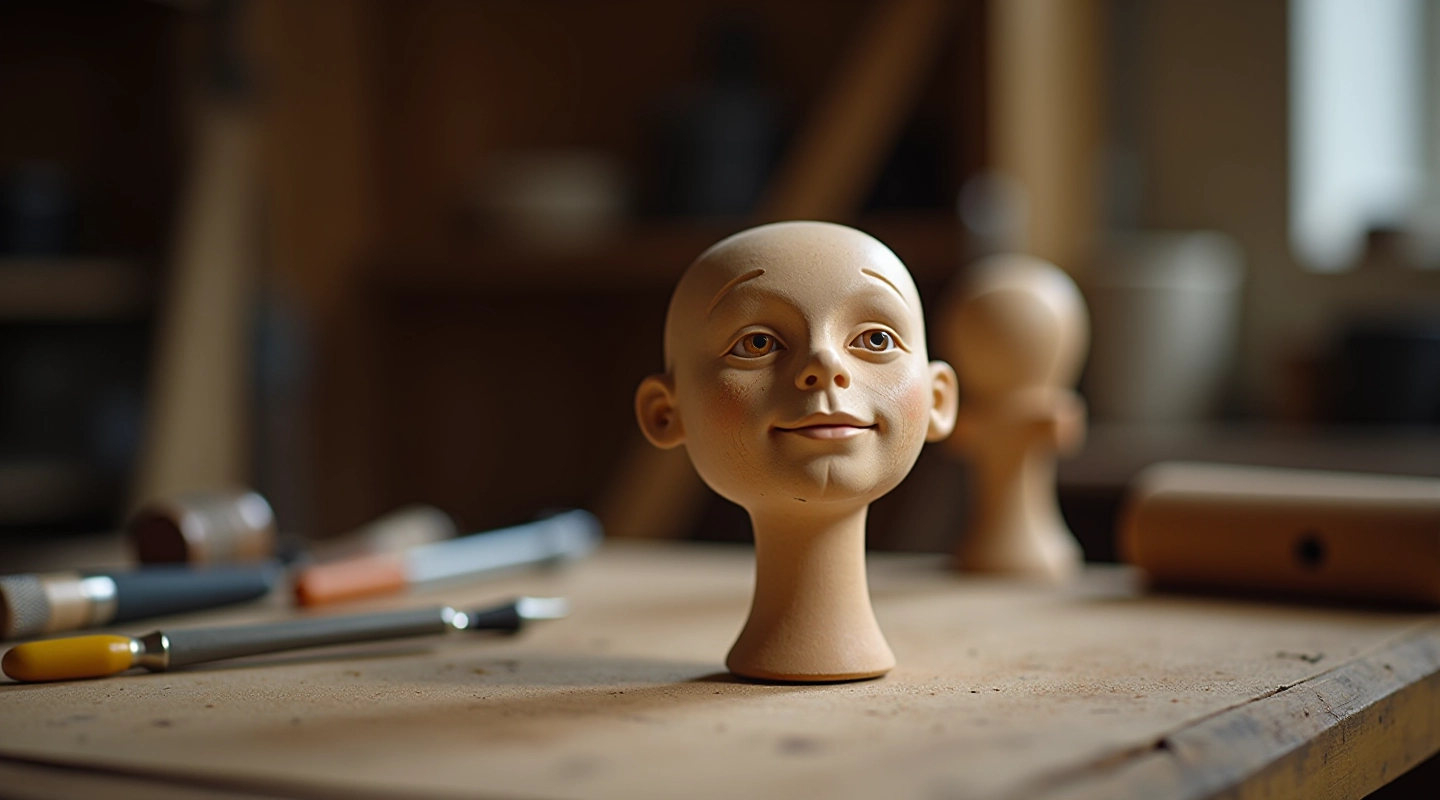
Getting Started with Puppet Carving
Learn the basic tools, wood selection, and foundational carving techniques used in traditional marionette making.
Master traditional Czech painting methods to bring personality and emotion to puppet faces. Learn color theory, brushwork, and proportions that make your puppets come alive.
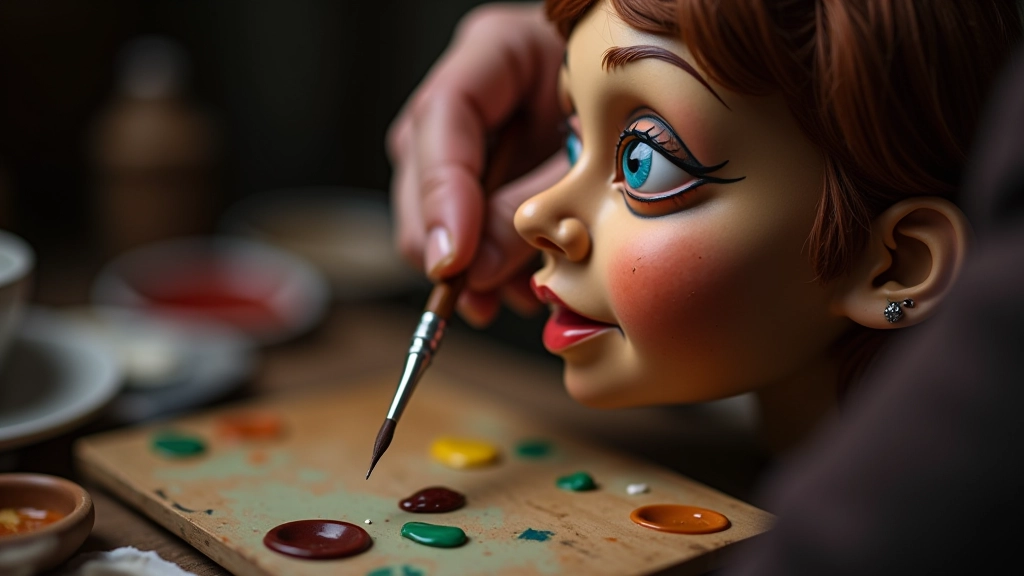
A puppet's face is its soul. You can carve the perfect head, get the proportions exactly right, but without the right colors and brushwork, your puppet won't connect with an audience. The paint isn't just decoration — it's expression.
Traditional Czech painting techniques rely on understanding skin tones, shadow placement, and how light plays across a curved wooden surface. These aren't complicated rules. They're practical knowledge built over centuries of marionette making.
Start with a solid understanding of skin tones. Most puppet faces use a base of yellow ochre mixed with white — not pure pink or orange. The yellow undertone is crucial. It's warm, it's natural, and it reflects light the way real skin does.
Mix your base color on a palette first. Don't apply it straight from the tube. You'll want roughly three parts white, two parts yellow ochre, and a touch of raw sienna. Test it on a scrap piece of wood. The color should look slightly cooler than actual human skin — remember, your puppet is stylized, not photorealistic.
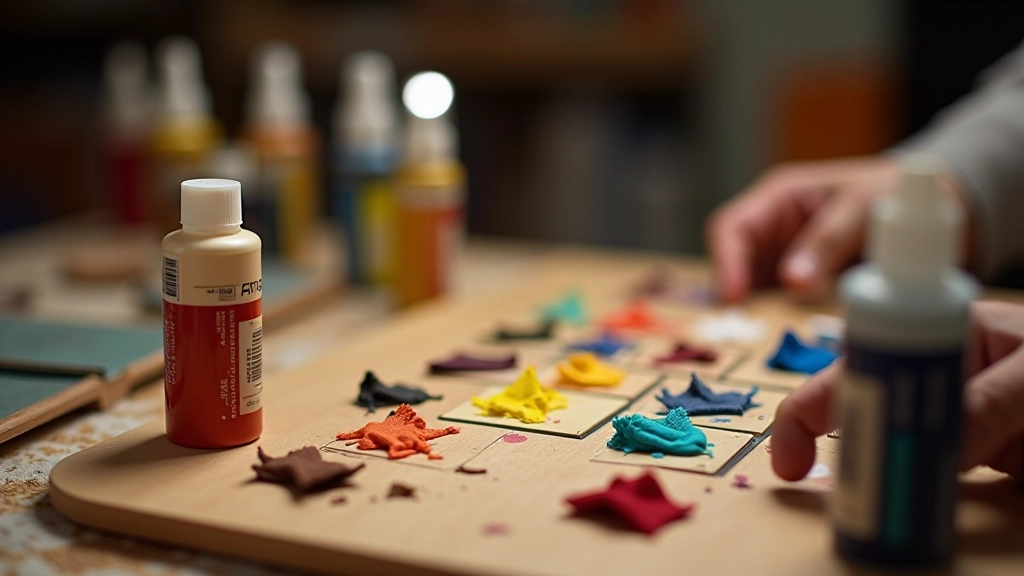
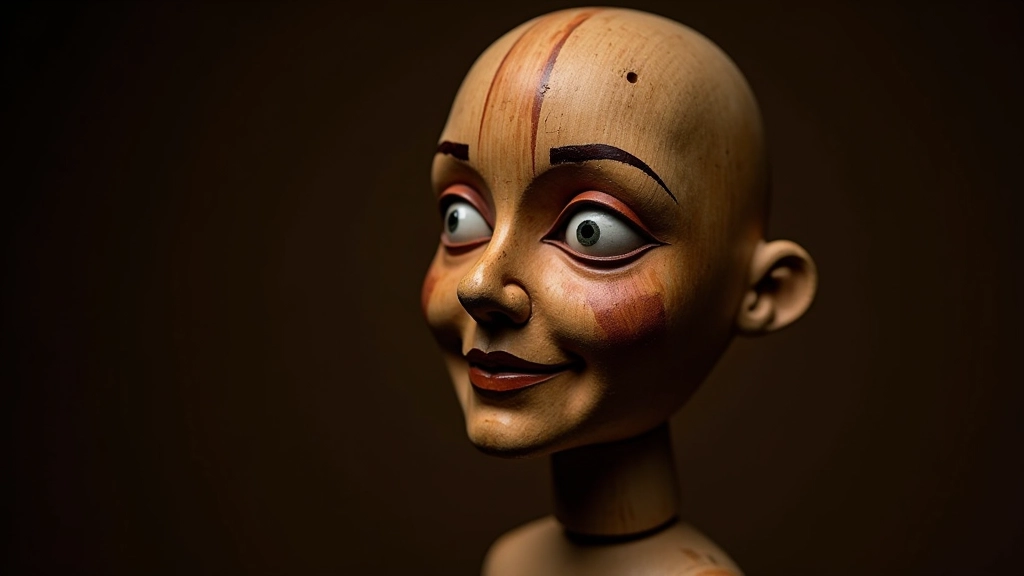
Once your base is dry, shadows come next. This is where the face gains dimension. You're not painting realistic shadows — you're suggesting them. A touch of ultramarine blue mixed with a bit of burnt sienna creates a natural shadow tone that doesn't look muddy.
Apply shadows under the cheekbones, around the eye sockets, and along the jawline. Use a thin brush — maybe 6mm — and keep a light hand. You want to see the base color showing through. The shadow should sit on top, suggesting form without overwhelming the face.
Highlights go on last. A tiny dab of white mixed with your base color on the cheekbones, bridge of nose, and above the eyebrows brings the face forward. It's the difference between a flat face and one that has volume.
Eyes make or break a puppet's personality. A well-painted eye can make an audience believe the puppet is thinking, feeling, reacting. A poorly painted eye makes it look dead.
Start with the eye shape carved into the head. Most traditional Czech puppets have almond-shaped eyes. Paint the whites first — not pure white, but off-white with a tiny hint of blue or grey. Pure white looks artificial. Add the iris in whatever color fits your character. Blue, brown, green — whatever you choose, make it consistent across the face.
The pupil is small and dark. Use black or very dark brown. Add a tiny white dot on the pupil to create a catch light — that reflection that makes eyes look alive. This single dot is magic. Don't skip it.
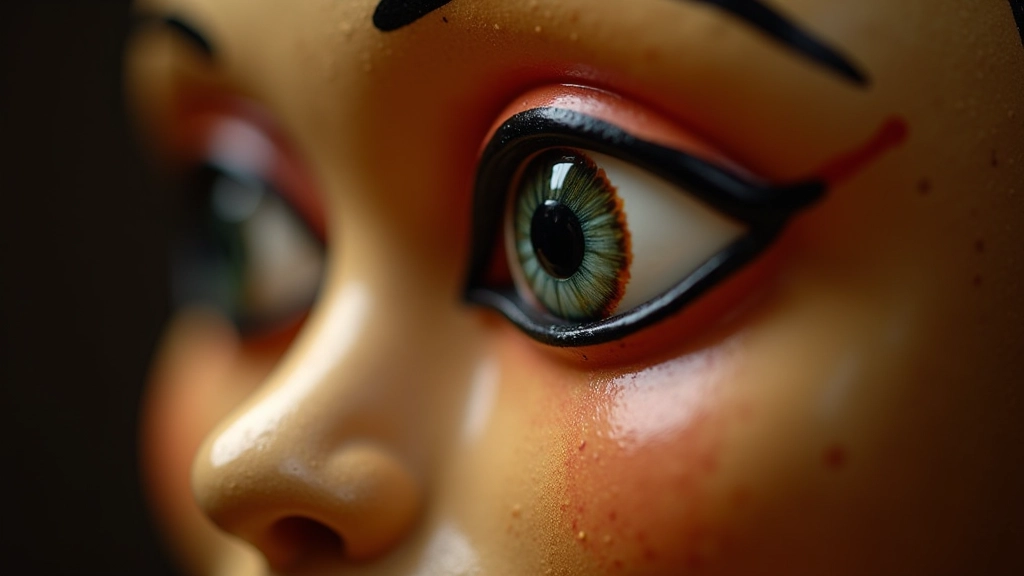
About This Guide: These painting techniques reflect traditional Czech approaches developed over generations of marionette making. Every puppet maker develops their own style over time. The methods described here are starting points — use them as foundations to explore your own artistic choices and preferences.
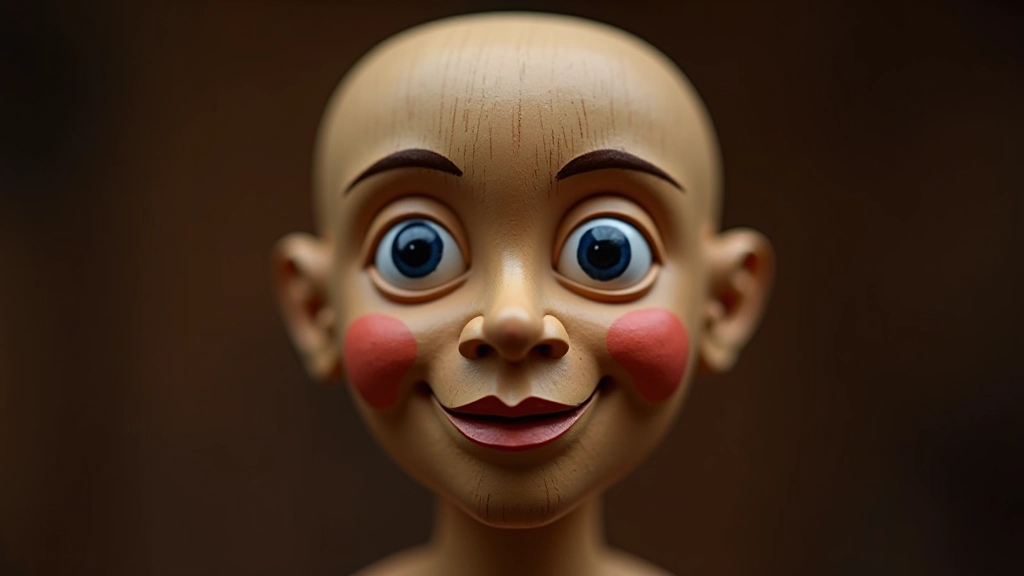
After the base, shadows, and highlights dry, you'll add the details that complete the personality. The mouth line should be subtle — a thin line of reddish-brown or muted red that suggests the mouth without being too defined. Eyebrows frame the eyes and hint at emotion. A slight curve upward creates optimism. Angled downward suggests intensity or worry.
Rosy cheeks are traditional. A light wash of diluted red or pink on the apples of the cheeks adds warmth and character. Keep it subtle. You want suggestion, not a clown appearance.
Once everything is painted and dry, consider a light varnish. It protects the paint from handling and gives the face a slight glow. Use a matte or satin finish — glossy varnish looks plastic on puppets.
You won't get it perfect the first time. That's completely normal. Every experienced puppet maker has painted faces that don't quite work. The good news? You learn faster than you'd expect. Paint three or four heads and you'll start developing intuition about proportions, color mixing, and where shadows belong.
Keep your early attempts. Compare them to later work. You'll see the improvement. More importantly, you'll develop confidence. Painting puppet faces is a skill, and skills improve with practice.
Test base color on scrap wood before applying to carved head
Even coverage with thin brush, let dry completely between coats
Subtle shadows under cheekbones and eye sockets create dimension
Eyes with catch light, mouth line, eyebrows, and rosy cheeks
Learn the basic tools, wood selection, and foundational carving techniques used in traditional marionette making.
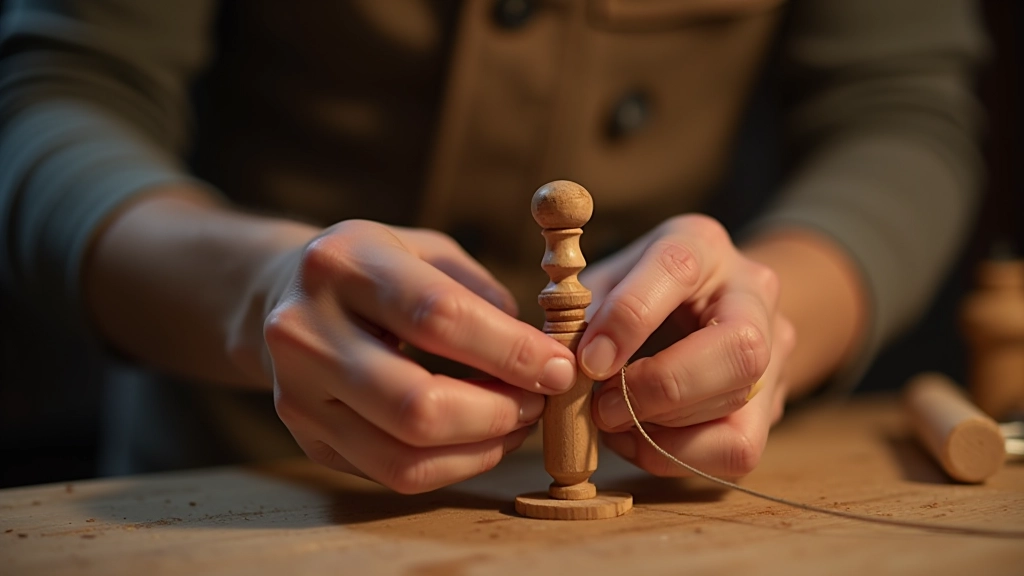
Step-by-step instructions for creating articulated joints and properly stringing your marionette puppet.
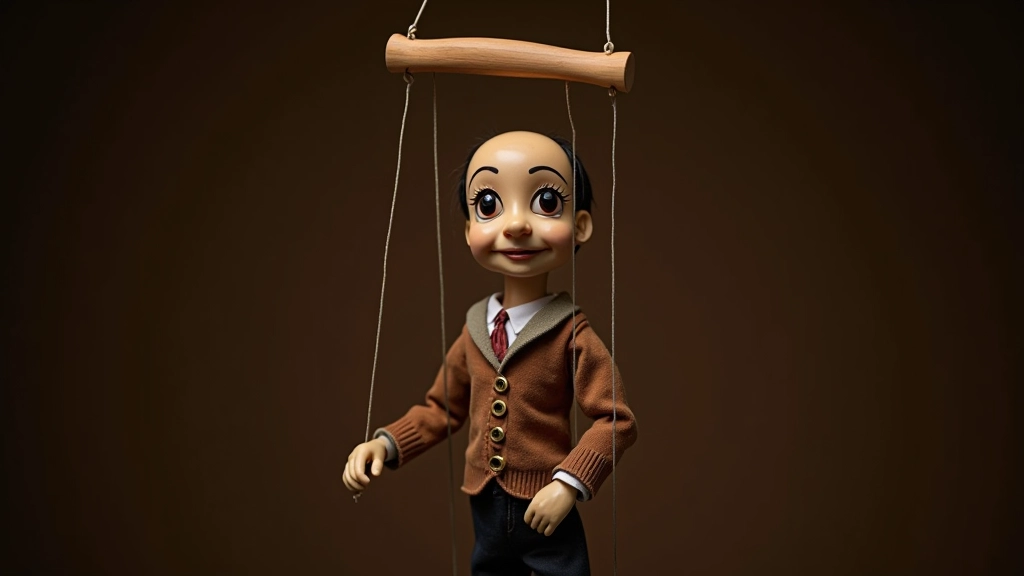
Design and construct a functional control bar that gives you precise manipulation and realistic puppet movement.